
Photovoltaic finish
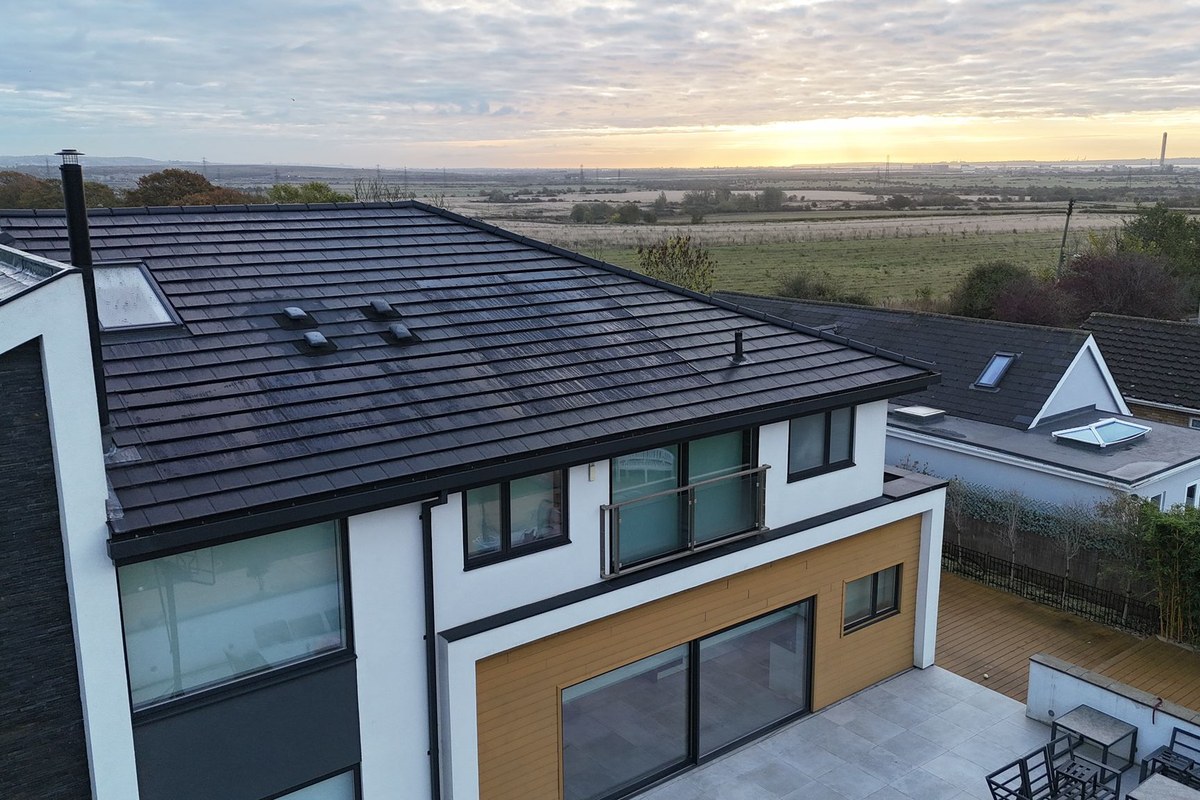
Anthracite
A dark finish suited to contemporary roof palettes and projects seeking a restrained, low-profile solar layout.
View solar tile system details
Reviewed 10 August 2026
SolarTyle is designed to become part of the roof covering rather than sit above it. The final appearance depends on finish, roof geometry, module layout, rooflights, junctions and the companion roofing tiles selected for the project.
This guide brings those visual choices together before technical design. Final compatibility, system layout and roof details must be confirmed for the individual property with the SolarTyle technical team.
Finish routes
SolarTyle offers red and anthracite photovoltaic panel finishes alongside project-specific companion roofing tiles for non-active areas. These are visual routes, not a substitute for a technical compatibility check.
Photovoltaic finish
A dark finish suited to contemporary roof palettes and projects seeking a restrained, low-profile solar layout.
View solar tile system details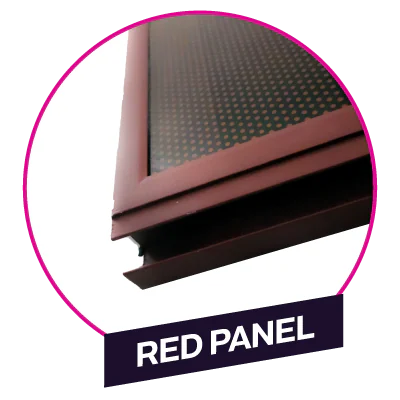
Photovoltaic finish
A warmer finish for roof designs where the photovoltaic field needs to sit within a red or clay-toned palette.
View solar tile system details
Non-active roof areas
Roofing tiles complete the non-active areas around the photovoltaic layout. The applicable tile and detailing are confirmed for each roof package.
Review the roof-system routeCompleted roof examples
These completed projects show how colour, module coverage, rooflights and surrounding architecture affect the finished roof.
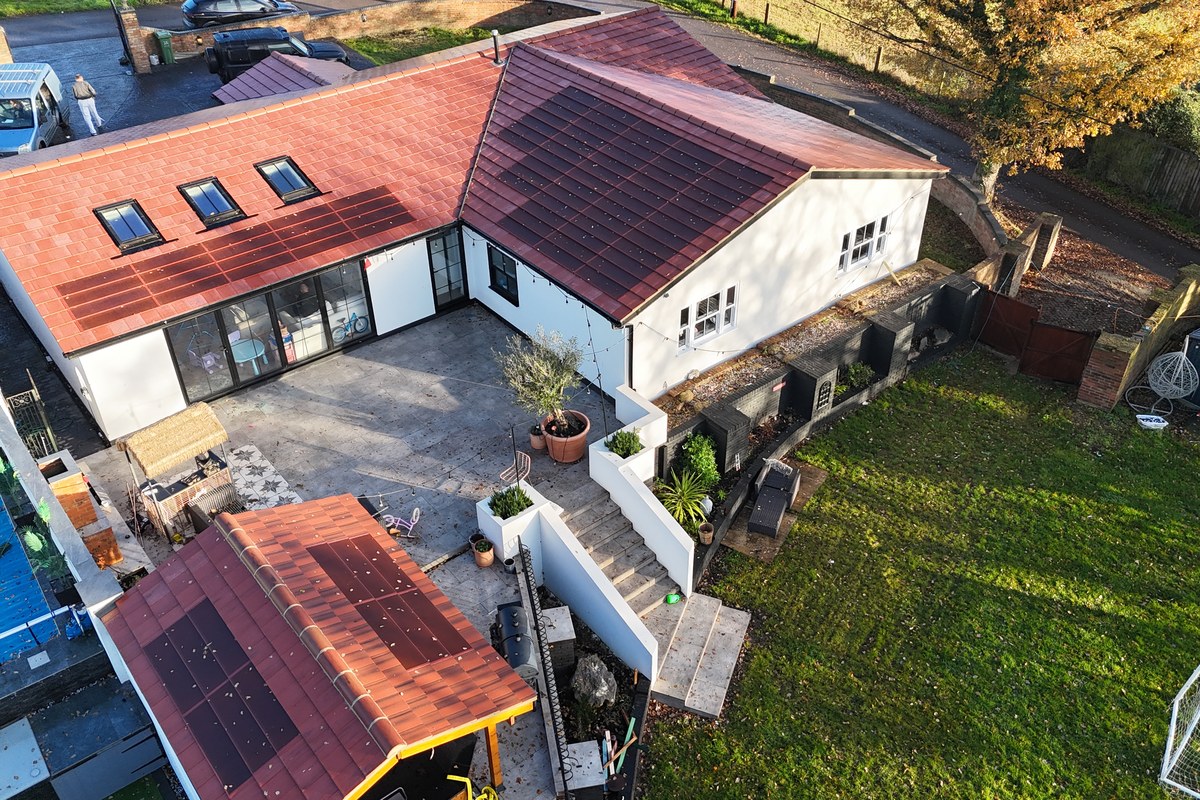
Warm roof palette
Red photovoltaic fields are composed around rooflights and adjoining roof planes.
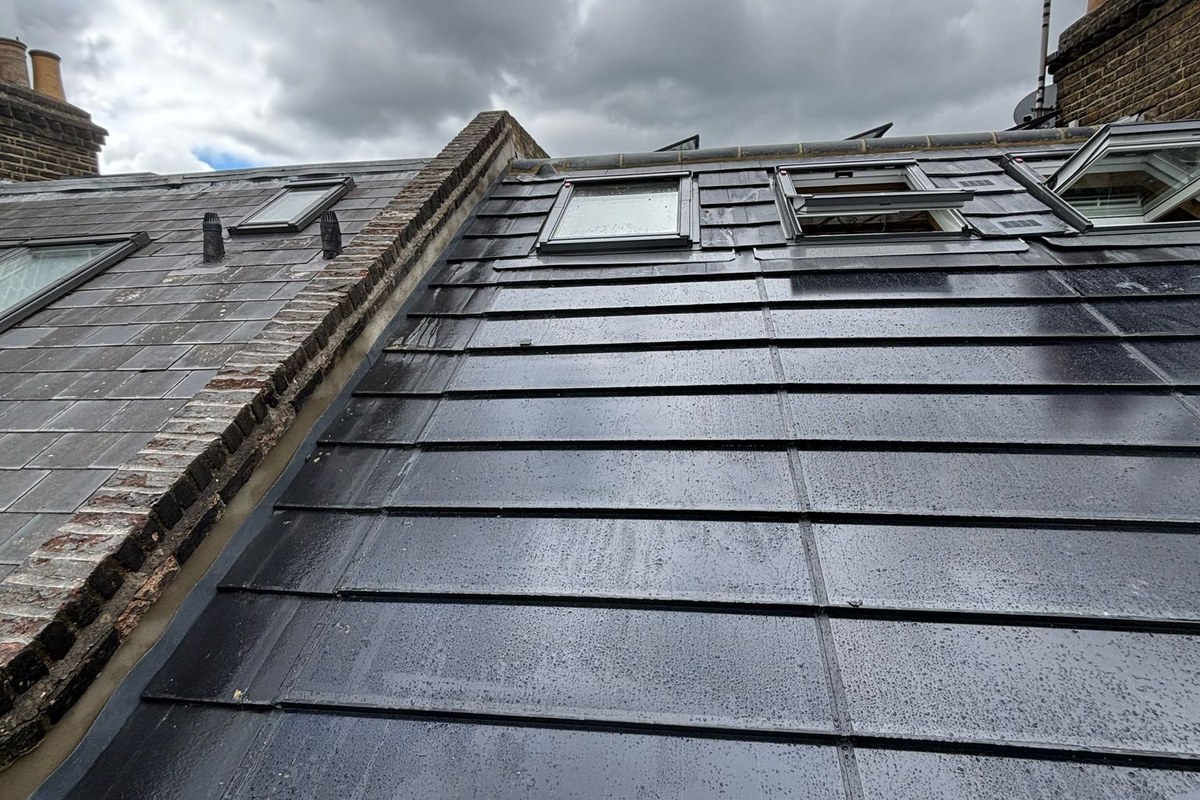
Sensitive setting
A dark, low-profile roof treatment responds to a terrace setting and existing roof features.
Contemporary architecture
An anthracite roof palette supports the strong lines of a modern residential design.
Design-stage checklist
The best time to resolve the visual layout is before roof procurement. A project review should consider the complete roof rather than the photovoltaic area in isolation.
Pitch, hips, valleys, dormers and street-facing planes affect layout and planning context.
Confirm the photovoltaic finish and the roofing tiles used around non-active areas.
Coordinate penetrations and interfaces early so the roof composition remains deliberate.
Visual choices must still work with project-specific generation, inverter and electrical requirements.
Check local constraints, current product data, drawings and system limitations before specification.
Choose your project route
Discuss a roof
Share the property type, roof drawings, preferred finish and project stage so the team can discuss the appropriate next step.

I needed a new roof and wanted solar but definitely not panels. Tyle were the only company that took an interest and what a good decision I made. They handled everything with complete professionalism from survey, scaffolding, skip hire, installation and commissioning. It was all completed on time. Even my wife was impressed. I am now enjoying my new hobby of monitoring solar energy. Highly recommended.

Ian and Genci have been professional, informative and reliable throughout the whole process. We needed to completely re-roof our existing roof as well as the extension, so this was a really cost-effective option. We are really pleased with the whole aesthetic and look forward to seeing how much we can save on our electricity bill throughout the next year.

Solar Tyle has been an outstanding company to work with and we are extremely happy with the results. From the design stage to installation and the final commissioning of our system, the team were excellent. The Tyle team are very knowledgeable on solar technologies and advised us at each stage on what was possible to get the most from our installation and we are making substantial savings already.

We're ready to help you with any questions you may have about our solar tiles.
0800 002 5192Solar tiles can only be installed if you are replacing your existing roof, as they integrate directly into the roof structure. However, if you're not replacing your roof, we also offer standard solar panels for installation.
The installation process involves a full retiling of your roof, using both solar and non-solar tiles to create a seamless new roof. Our team starts by surveying your roof to ensure it is suitable for installation before booking your project and proceeding with the work.
The installation time for solar tiles depends on the size of your property but generally takes between 1 to 2 weeks, similar to a standard roof replacement. This includes the removal of old tiles, re-felting and the installation of the new solar tiles.
Yes, our solar tiles come with a comprehensive warranty to ensure peace of mind for our clients. Warranty coverage includes both the tiles themselves and the electrical components such as inverters and batteries.
If you're not sure whether your roof qualifies for solar tiles or standard solar panels, our team can help. We conduct an initial survey to assess your roof's suitability for solar tile installation and determine the best solution for your property.

